August 27, 2012

Dear Diary...A Smell Good Secret


For those of you who have ever moved houses, you can empathize with my frustration as I rummage around boxes trying to find that "needle in a haystack". Today it was my air freshener plug in. I have more than one brand but could NOT find a refill match to the Plug-in (I wouldn't be surprised if they got thrown out accidentally during the move!).


I decided to see what would happen if I took one of the refills apart...a pair of needle-nose pliers helped with this experiment. It took a little prying, but I eventually worked it off (don't worry if you somewhat damage the plastic cap in the process, I did & it still went back together fine).


You'll want to rinse out the glass container to prep for the new scent. The wick will keep your old scent for a while, but it will absorb & start to emit the new scent pretty quickly.


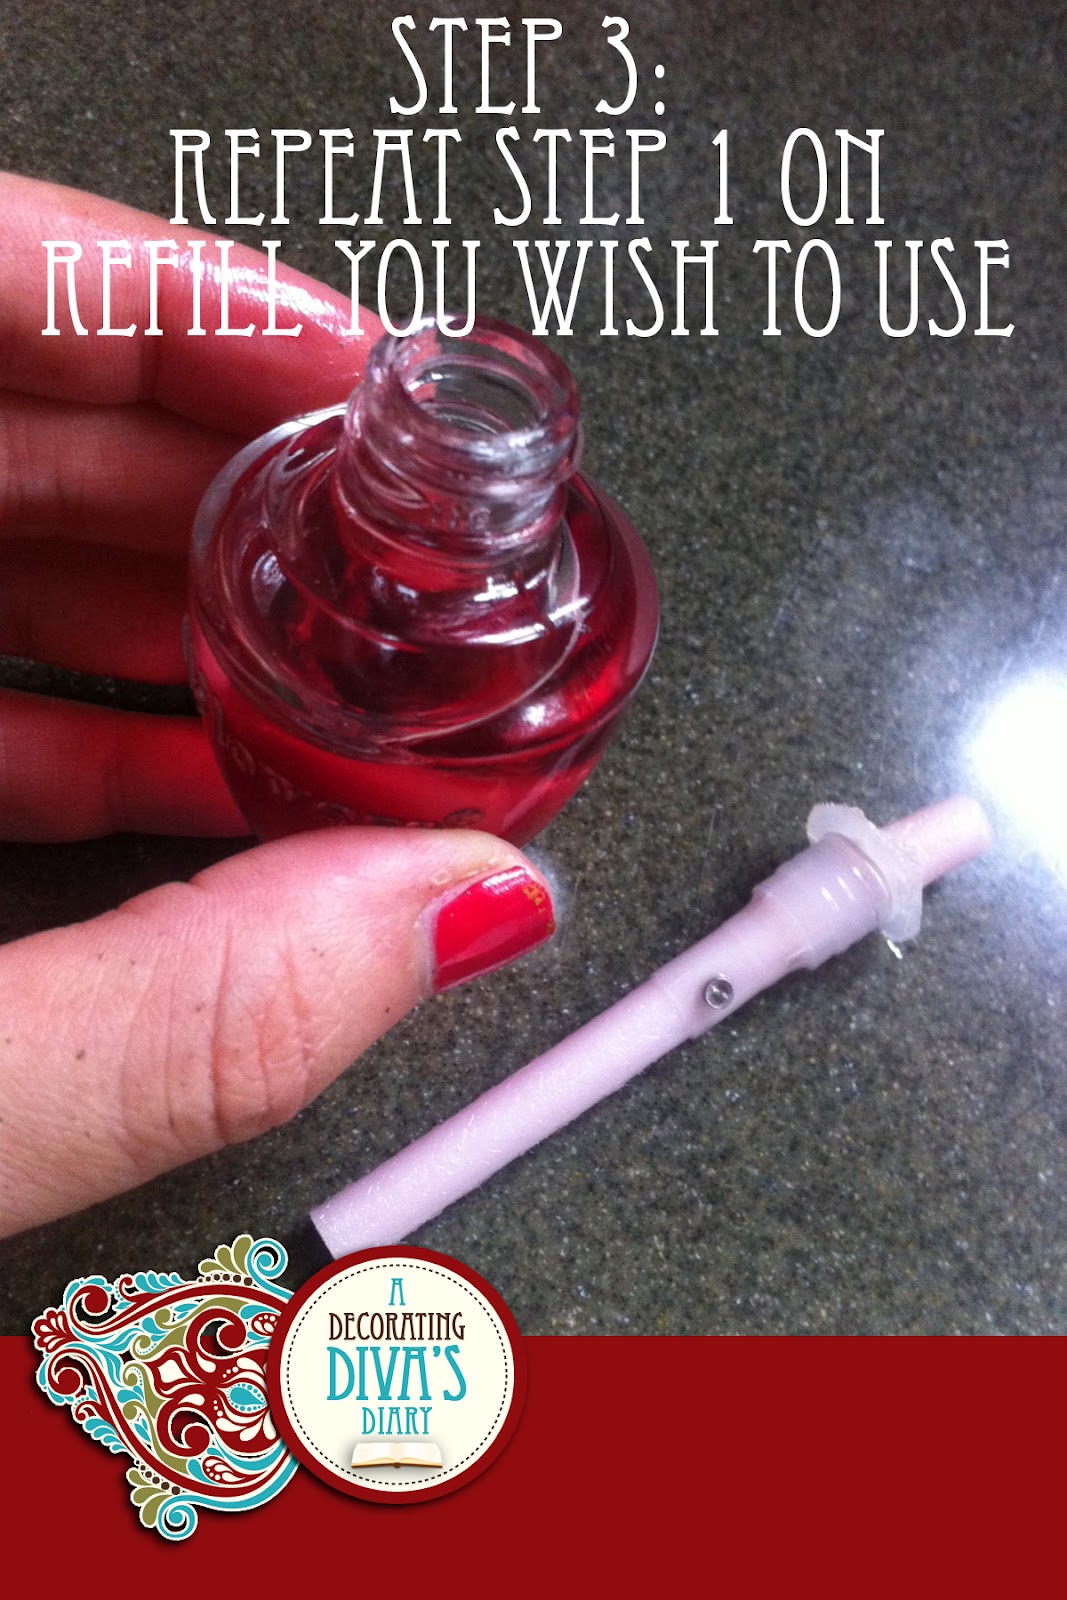
Next you'll repeat Step 1 on the refill you are planning to transfer to the original refill bottle. For some reason this cap came off easier than the last, it really depends on the brand you have.

*TIP: Keep the wick from the new refill bottle to place in a bathroom, etc-don't waste the good scent! Just place it on a dish (something non-porous).


Simply pour the oil scent into the original glass refill bottle...


Re-insert the cap & wick, it should pop back in place fairly easily, it should then look like this...
(See, I told you I roughed up the cap a bit, but it still went back on just fine!)


There you have it! Plug in & enjoy!


*TIP: Keep the empty refill bottles, either to do this process again or other fun crafts. I plan to cover my wallflowers with glitter for a Christmas decoration, their particular shape looks like vintage christmas lights!

I DEFINITELY recommend trying this for fall, so many great scents out there to enjoy, don't be restricted to just one brand! What scents have you been wanting to try out?


August 5, 2012

Dear Diary...I'm Loving my New Maxi Dress!

Summer in South Florida is hot hot hot so staying cool AND stylish takes a little extra work. I've been loving all the maxi dresses this summer in the department stores and around the web. Unfortunately, very few are actually affordable and the few that are never seem to fit my style. I finally decided to take things into my own hands and DIY a few of these myself!

I started with a few tanks that I picked up from Forever 21 for about $4.50/ea and 1.5 yds of 2 different fabrics I picked up at the Moonlight Madness sale at Joann Fabrics.


I took another maxi dress I already had to figure out the proportions for both the skirt & top (I highly recommend this approach unless you are an advanced sewer).

After determining how much to cut off the bottom of the tank, I wound up with this:


For the skirt, fold the fabric in half lengthwise & sew a seam 1.5" down the selvage (unfinished ends of the fabric). Depending on the fabric, you may need to sew the bottom of the skirt as well, one of mine I did, the other I didn't. Tip:Sew/trim the bottom of the skirt last

With one of the dresses I decided to go a little fancy and added some pleats to the front. You do NOT have to add this, a slight gather works just as well! (You'll see at the end with the leopard/coral maxi)

Then I sewed the skirt & tank together (wrong sides facing)


Tip: if your sewing patience is short, try fabric or hemming tape instead, just iron on!


I also decided to add a loose sash to hide some of my not-so-perfect stitching around the waste which also gave it a more finished, fun look.

After investing about $28.00 & 1 1/2 hrs per dress, I wound up with these beauties!


Have you made any great summer DIY dresses or other clothing? Tell me about it, I'd love to hear YOUR tips!

July 20, 2012

Dear Diary...Another Drab to Fab Story

This past week I decided to start tackling the guest bathroom. I've been loving that oil-rubbed bronze look lately and really wanted to incorporate it somehow into the guest bath. 

Unfortunately, our bathroom has the same builder grade look most others have! So I set off to my nearest home improvement store to take a look around. Towel bar, TP holder, hand towel ring, and all the vanity accessories started to add up pretty fast! I stopped calculating once I reached $60.

Knowing I couldn't spend that much, I decided to put my creativity to good use when I found this beautiful product from Rustoleum for just $7.50:


I set off for home to see what I could find to re-finish! This is what I pulled together:

From Top left: Bath & Body soap dispenser, plastic trash can, 
towel bar, light switch cover, outlet cover & toilet paper holder.


With one even coat & just a bit of touch ups, I was able to transform a...
well I'll just say it, UGLY bathroom set, into THIS:

Look at the depth of the finish, no flat spray paint look here!


My husband could hardly believe his eyes either! What a dramatic transformation!

If you've tried this on a similar project or have ideas of how to use this for your own DIY, 
leave a note in the comment section below! 
I LOVE hearing about your projects and how these tips work for you!


July 14, 2012

Dear Diary...My Embarrassing Kitchen Sink!

My hubby and I just bought a new house and moved in yesterday. Of course I have immediately gone into "home making" mode and have been cleaning, unpacking and organizing to my hearts content!

Today I tackled the kitchen and wanted to share an ah-maaazing tip I picked up on how to get your dingy, dirty porcelain sink back to it's shiny bright white finish.


This is a three step process, but pain free, I promise! You'll need a dishwashing detergent power pack (Cascade, etc), bleach spray or regular bleach (or both!), and a very special product called Bar Keepers Friend.

I'm a little embarrassed for our home's previous owners...but I'll show the before photo anyway! This is what the sink looked like before I started:


Step one, rinse your sink out with warm water, cut open one or two power packs & sprinkle in the damp sink. I lightly scrubbed mine & then let it set for about 10 minutes. You can use a brush to gently work out some of the stains and then rinse again with warm water to wash out all the cleaner. You'll start to see some of those stubborn stains have lifted away:


Step two, spray down the entire sink (sides included) with bleach, I used both the spray formula as well as the good ol' fashioned bottle bleach, for double duty! Let set again for about 10 minutes or so. Then rinse with warm water and this time you should start to see a major improvement from where you started:


Step three, apply a good coat of Bar Keeper's Friend. This product you can find at your Home Depot for about $2.50. Definitely worth it! You can use it all over and on tons of products from copper to porcelain. Instructions say to let it set for about a minute, I left mine on for two just to make sure it did the trick. =)


Finally...drum roll! Your sink should be left sparkling fresh & clean, and it's brightest white!


I hope you found this helpful AND useful! If you did, leave a note in the comments section and tell us how it worked for you!


Link to original post where I got the idea:
http://www.the36thavenue.com/2012/03/how-to-clean-a-porcelain-sink-2.html

February 15, 2012

Dear Diary...A Big Bang Birthday - Part 1

My husband turned the big "33" last week & I threw him a fabulous BIG BANG Birthday extravaganza themed around our current tv obsession, The Big Bang Theory! This party has been in the works for about a month now and I'm not sure who had more fun, him or I!

The party was an absolute blast! From Sheldon's "root beer floats" to the crew's typical Friday night dinner from "Changs chinese take out". There was a little bit of each character to be found.

The birthday cupcakes were the delish signature coconut flavor from my hobby business Sweet Suite. An explosion of color surprised guests as they bit into these birthday sweets. The cupcakes were topped with a fresh whipped dollop of coconut cream frosting and adorned with custom flags noting signature quotes from the show.

Additional treats included super hero taffy and nerds (how appropriate!).

Be sure to look out for Part 2 of the Big Bang Theory Birthday coming soon! I may also work on a "printables" post with some of the quotes, flags, banners, etc. If anyone is interested please post a comment below & I'll let you know when they're available!

January 7, 2012

Dear Diary...A New Bookmark for You!

My good friend recently became as addicted to Pinterest's plethora of craft inspirations as I am
and came to work to show off this cute lil critter she had made with her boys!

They were so cute I just had to share!
Keep an eye out for a template coming soon!

January 2, 2012

Dear Diary...A New Breakfast Discovery!

Around Thanksgiving time I was browsing for some interesting tapas style dishes and found these babies!

I have made them three times now and today made a new variation (when I ran out of prosciutto) by dicing mushrooms & spinach, then mixing with eggs & adding a dab of mozzarella & turkey bacon garnish.

They are super yummy & easy to make. You can even bake them in advance & freeze. Pop a few in the microwave for a quick, healthy, on-the-go breakfast! (Kid friendly too!)

Here's the basic step-by-step:


Items you'll need:
-Prosciutto, ham or turkey (your thin-sliced meat of choice)
-Eggs (preferably egg beaters or equivalent)
-Cheese (if preferred)

Bake at 350 degrees for approximately 18-20 minutes.

Enjoy!